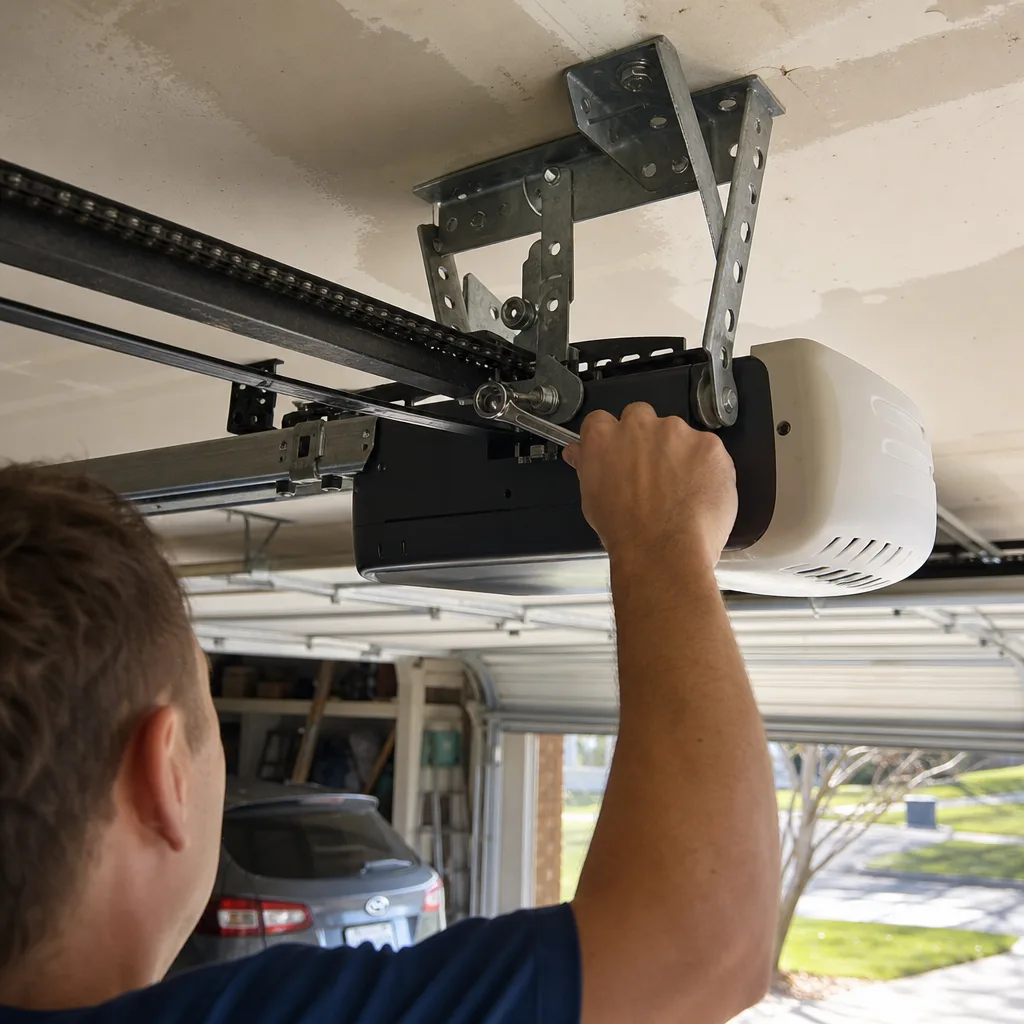
Last updated November 21, 2026
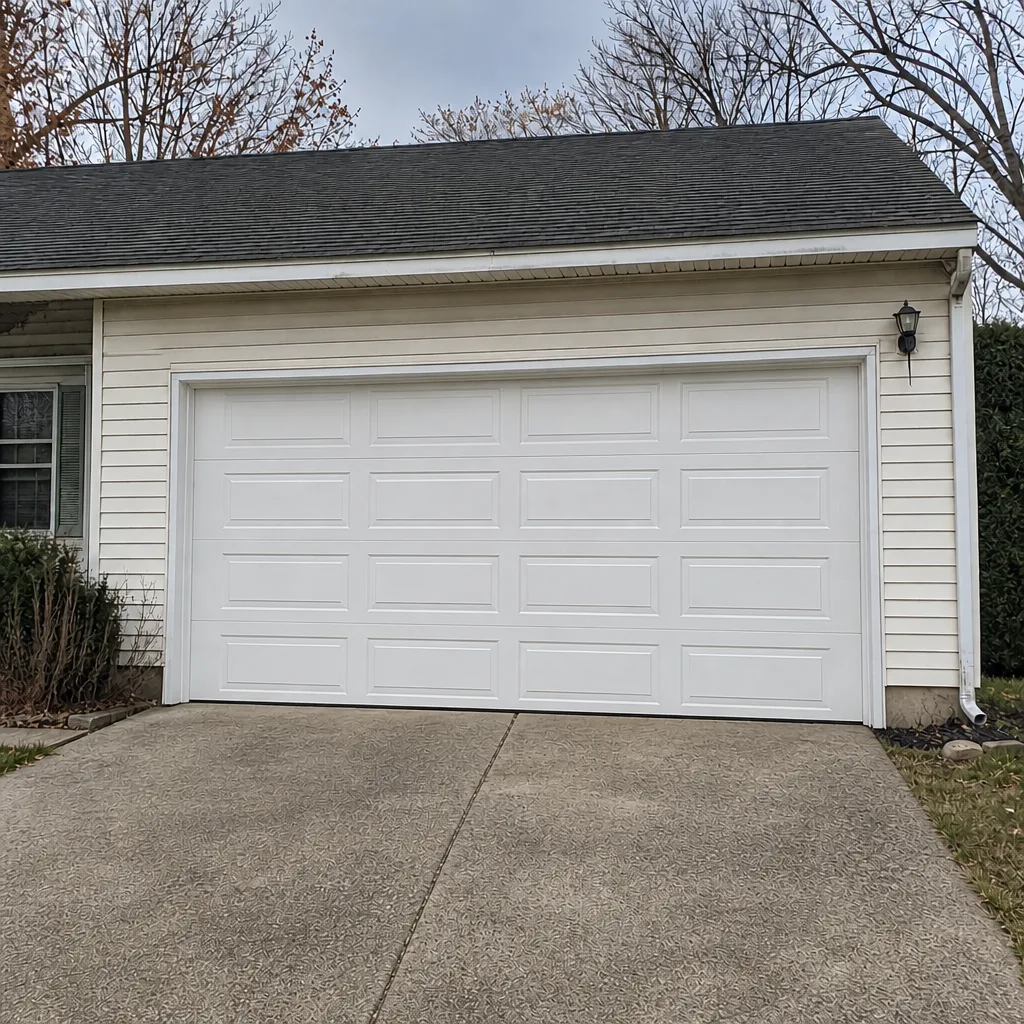
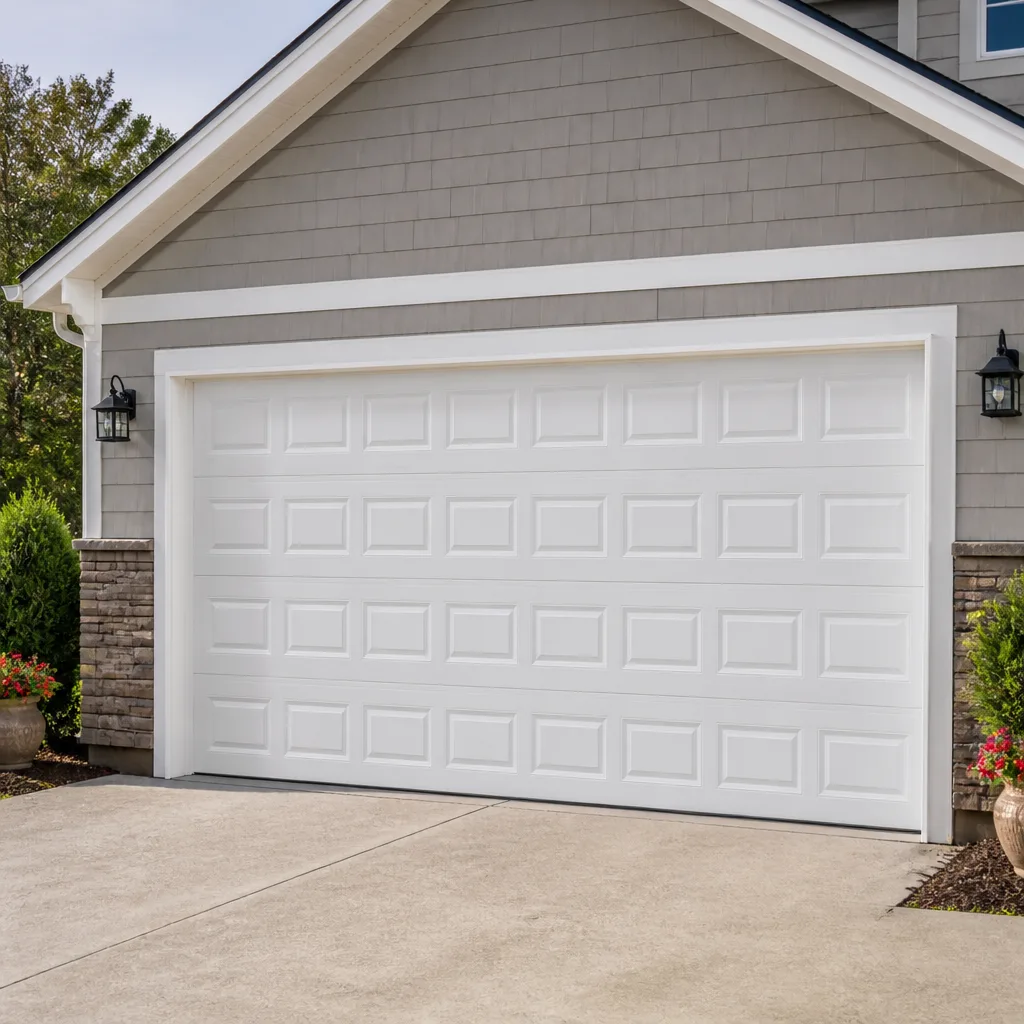 Raised-panel steel
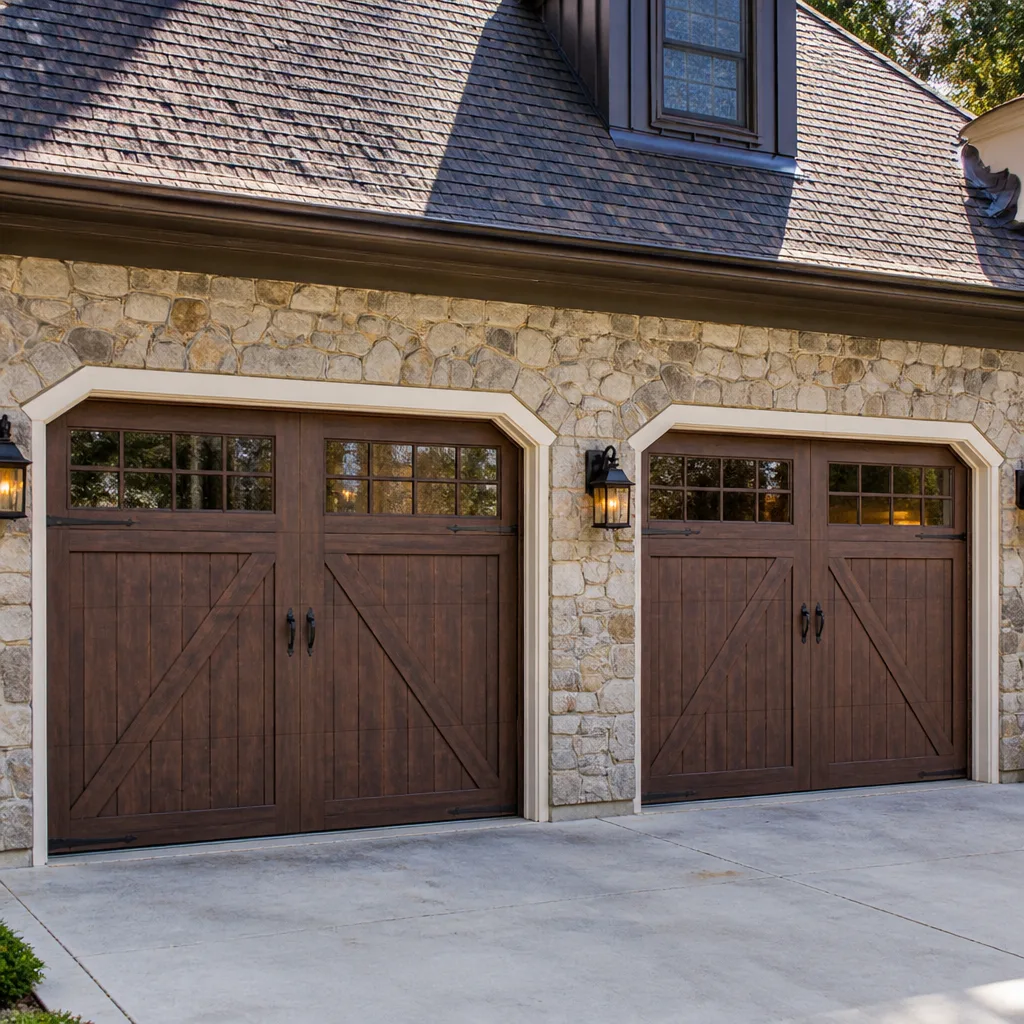 Carriage house
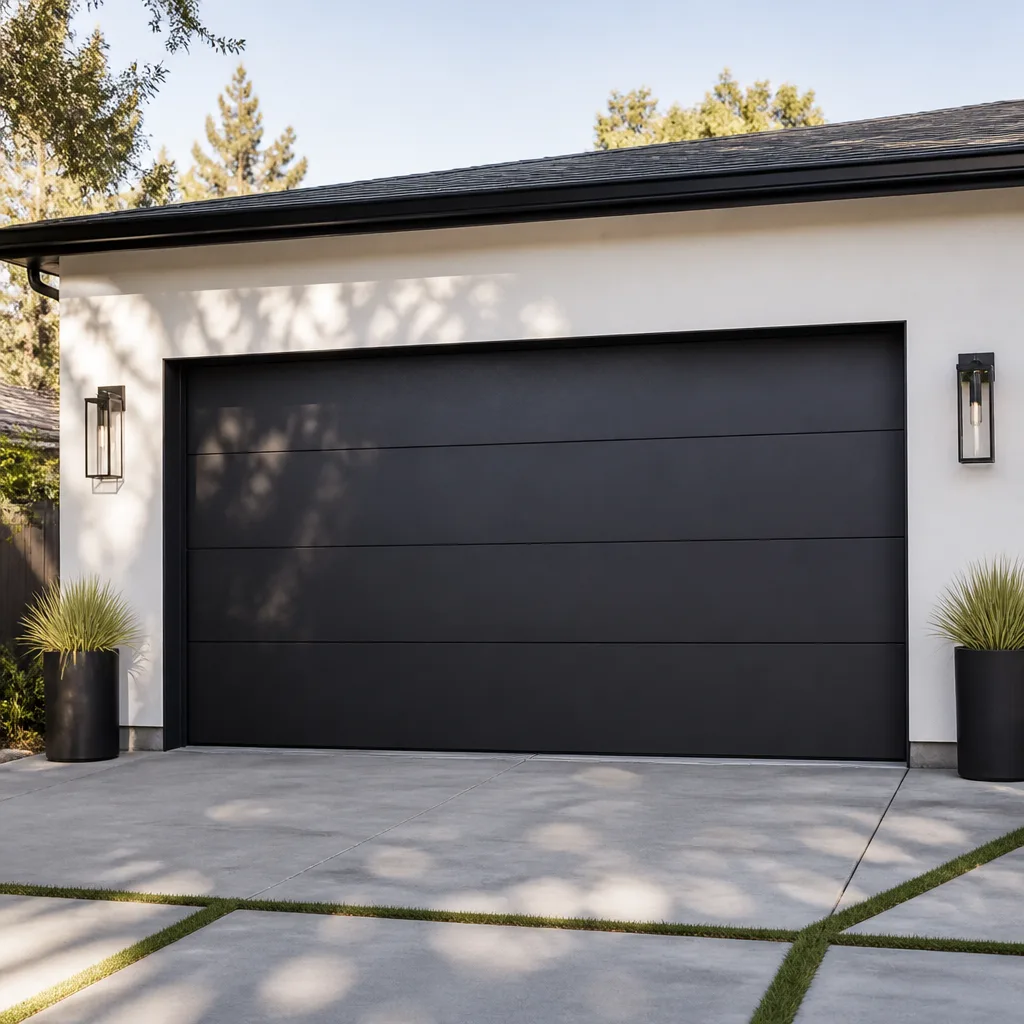 Modern flush
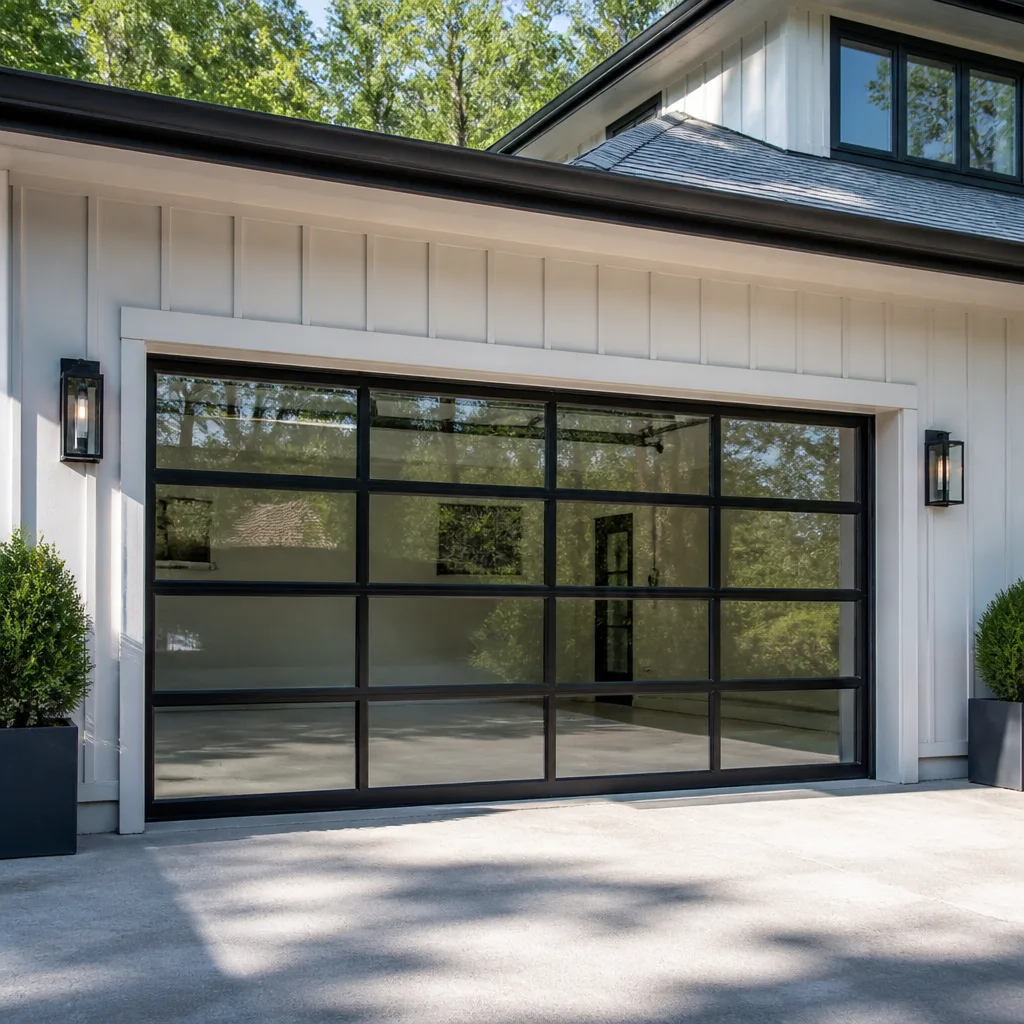 Full-view glass
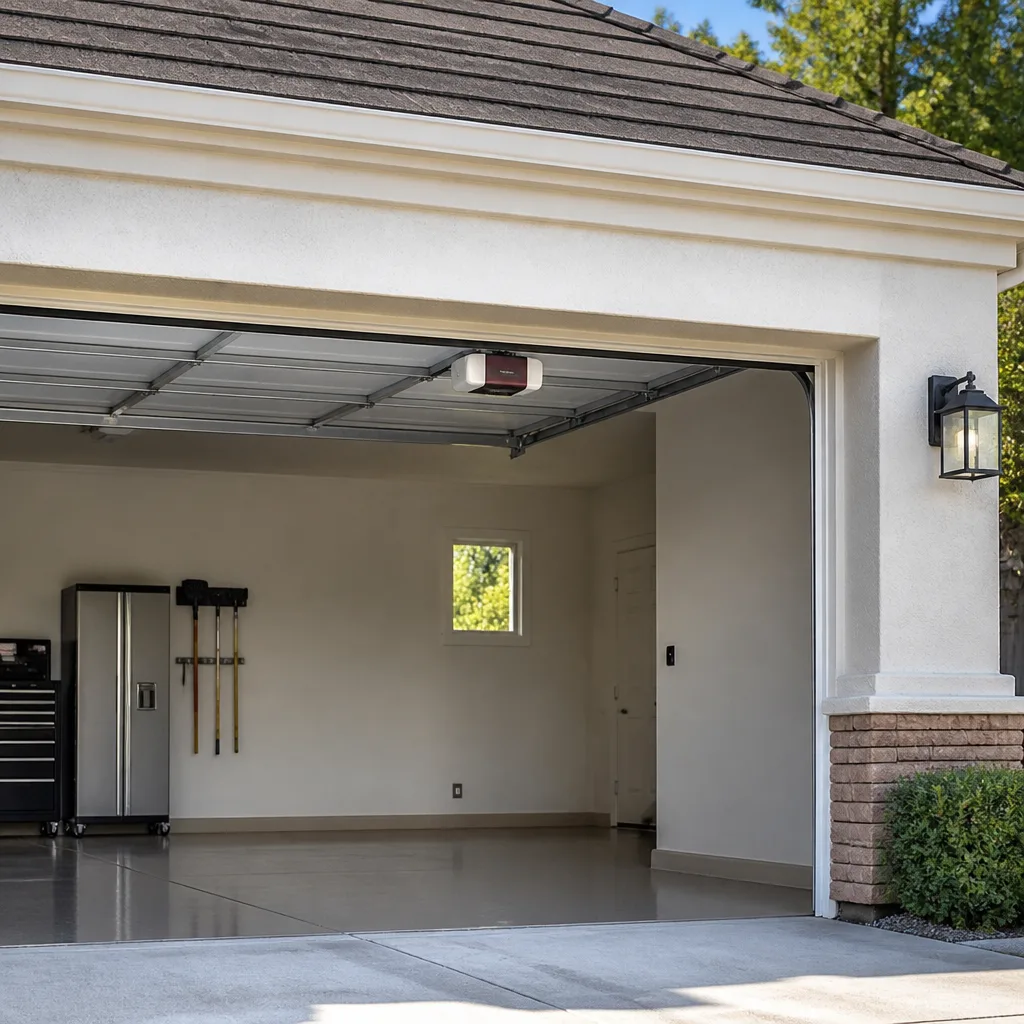 LiftMaster openers
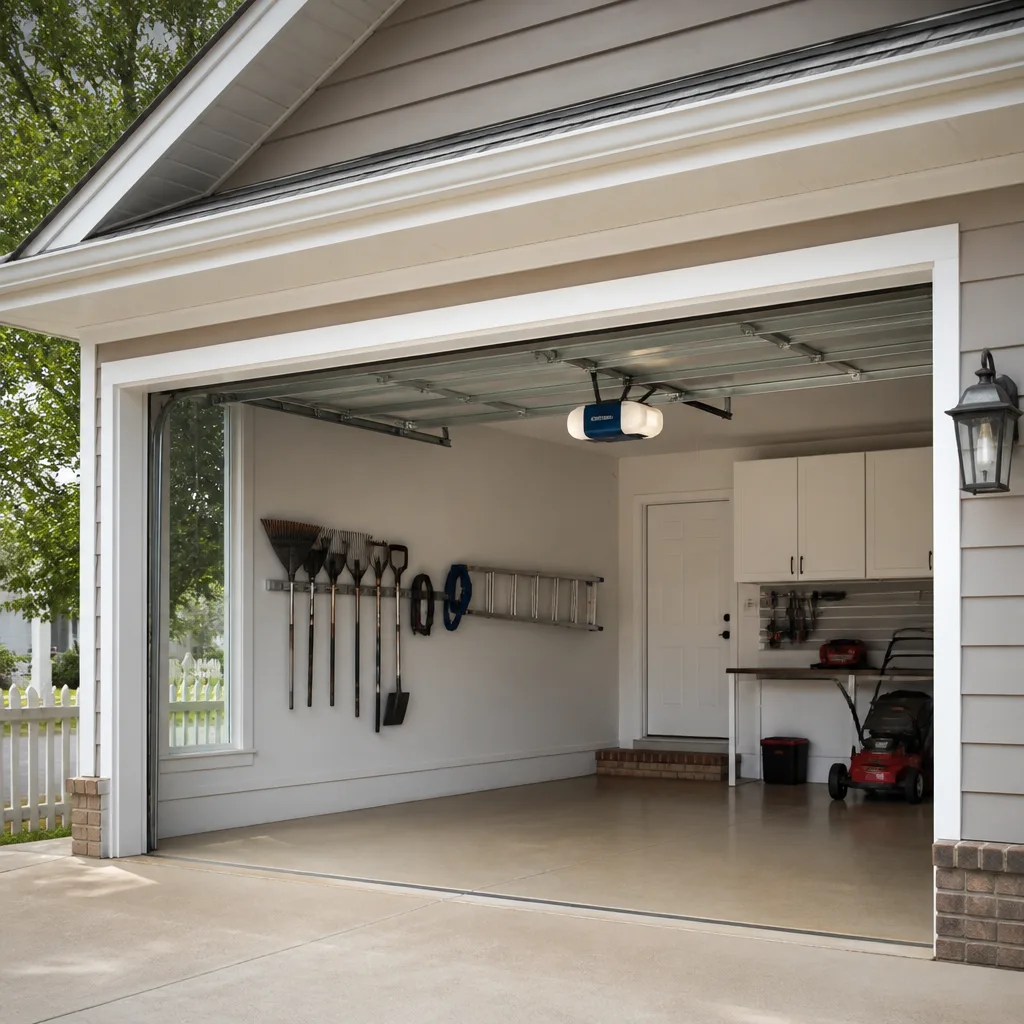 Chamberlain openers
Full 25-point door and opener safety check with every visit - springs, cables, rollers, tracks, and your LiftMaster or Chamberlain opener included
You get a price before we start. It does not change when the pro arrives.
Get your free estimateGarage Door Repair Maintenance Checklist for Mount Laurel Homeowners
The number-one cause of a garage door that “just stopped working” isn’t a broken part. It’s a part that showed a warning sign six months earlier that nobody knew to look for. A torsion spring doesn’t snap without warning – it usually gives you a visible gap and a different sound weeks before it fails. A cable rarely breaks without first throwing a strand. The door that won’t open on a cold morning in Mount Laurel has usually been telling you something for a while. This guide is built around the failure patterns we actually see in Mount Laurel homes, ordered by how often each part fails, so you’re checking what breaks first, not what a generic list told you to check.
Quick Answer
A practical garage door maintenance checklist for Mount Laurel runs in failure order: springs first, then cables, rollers, tracks, and finally the opener. Check each one about twice a year, plus a dedicated pass before winter and after the first hard freeze. Most of what fails here fails in that sequence, and catching the early warning signs is what keeps a repair small.
Styles & brands we work with
- Raised-panel steel
- Carriage house
- Modern flush
- Full-view glass
- LiftMaster openers
- Chamberlain openers
Table of Contents
- Why a Checklist Built by Failure Order Beats a Generic One
- Step 1: Torsion Springs – The Part That Fails Most
- Step 2: Cables – The Second Most Common Failure
- Step 3: Rollers and Hinges – Wear You Can Hear
- Step 4: Tracks and Alignment
- Step 5: The Opener and Safety Reversal
- Seasonal Checkpoints for Mount Laurel’s Calendar
- What to Photograph and Document Each Check
- Common Mistakes to Avoid
- When to Call a Professional
- Frequently Asked Questions
Why a Checklist Built by Failure Order Beats a Generic One
Most maintenance checklists are alphabetical, or random, or copied from the back of an opener manual. That’s fine for a manual. It’s not how doors actually fail. In our experience working on Mount Laurel doors, the wear follows a predictable order: the spring carries the entire weight of the door every single time it opens, so it’s the first to fatigue. Cables rub against pulleys and drums on every cycle, so they’re next. Rollers and hinges wear from friction. Tracks bend from a bump or a temperature swing. And the opener, which drives all of it, tends to be the last to fail because it’s the most protected component.
Checking in that order does two things. It means you spend your time on the parts most likely to be a problem, and it means you spot a failing spring before a failing spring spots your car. A door with a snapping torsion spring drops fast, and the repair is far more than the spring. A door you caught a week earlier with a visible gap in the coil is a scheduled repair.
The other reason order matters: your findings inform each other. A cable that’s frayed at the drum usually points to a spring that’s lost tension and let the cable go slack. A track that’s out of alignment usually points to a bent roller riding against it. If you check them in order, each check tells you what the next one will show. That’s the whole idea.
How often to run the full checklist
Twice a year for the full pass, plus the seasonal checkpoints further down. If your door cycles more than six or seven times a day – a busy household, a door that’s also the main entry – go to three times a year on the spring and cable checks specifically. Springs are rated in cycles, not years, so a heavily used door ages faster than a lightly used one.
Step 1: Torsion Springs – The Part That Fails Most
Torsion springs are the horizontal coils mounted above the door on a steel shaft. They store the energy that lifts the door, so they do the heavy work every time it moves. Springs are rated in cycles, and a standard residential spring is built for a service life measured in thousands of cycles, not years. A door that opens and closes ten times a day burns through that life faster than a door that opens twice.
Here’s the part most homeowners don’t know: these springs are under extreme tension, and they can cause serious injury if you try to touch or adjust them. What you’re doing in this check is looking and listening, not touching. Never loosen, remove, or adjust a torsion spring yourself. We flag that plainly because a spring is the single most dangerous component in a garage door system, and every guide that suggests otherwise is doing you a disservice.
Visual cues that a spring is nearing failure
- A visible gap in the coil. Look along the length of the spring. If a section of the coil has separated, even a small crack of daylight, the spring has started to fail and should be replaced before it snaps.
- A stretched or uneven coil. A tired spring can lose its shape and turn uneven along its length. An even coil is a healthy coil.
- Rust or corrosion on the coil. Rust eats into the wire and weakens it. Mount Laurel humidity and the freeze-thaw cycles of a New Jersey winter both accelerate this. If you see surface rust meeting pitting, that spring is closer to the end than the calendar suggests.
- A door that feels heavier than it used to. With the door closed and the opener disconnected, lift it by hand. A well-balanced door comes up with light effort and stays put. If it feels heavy or drops, the spring has lost tension. This is a check you can do without touching the spring itself.
Audio cues worth listening for
A healthy spring is nearly silent. A failing one often isn’t. A loud bang from the garage when nothing was moving is the classic sign of a spring that just let go. A creaking or groaning during operation points to friction, and a metallic pop at the top of the travel can mean the coil is catching. If the door operates normally but you hear a new noise from above the door, note it and mention it on your next call. Our garage door spring repair service handles torsion spring work directly.
Spring pricing is straightforward, and there’s a detail worth knowing before you call. A spring quote is for one spring. Most doors use a matched pair, and they’re usually replaced together, so a pair costs about twice a single spring. If you have a failed spring on a pair where the other is the same age, replacing both at once avoids a second visit in a few months. The written estimate sets the final price, and you’ll know the number before any work starts.
Step 2: Cables – The Second Most Common Failure
Cables run from the bottom corners of the door up to the drums at the top, and they’re what the spring pulls against to lift the door. They’re under constant tension and they rub on drums and pulleys on every cycle, so wear is normal. Failure isn’t. A cable that breaks under load can whip loose, and it’s a component that belongs in the professional’s hands. What you can do is check for the warning signs from a safe distance.
What a cable check looks like
- Look for frayed strands. Run your eyes along the length of each cable where it’s visible. A healthy cable is smooth and even. A failing cable shows individual wires that have unwound or frayed out of the braid. Even one or two is enough to flag it.
- Check the bottom corners where the cable attaches. The cable fastens at the bottom bracket. Look for rust, a loose or bent bracket, or a cable that looks slack there.
- Look at the drums at the top. The cable should wind evenly around the drum. A cable that’s jumped the drum, tangled, or wound unevenly is a problem even if it isn’t broken.
- Listen for a snap during a cycle. A cable under load that’s about to break can make a sharp cracking sound. If you hear it, stop using the door and call.
A snapped cable almost always leaves the door stuck, sometimes crooked. Do not force a door with a broken cable to open. The remaining cable carries double the load, and the door can come down unevenly. That’s a call, not a repair.
Step 3: Rollers and Hinges – Wear You Can Hear
Rollers are the wheels that run inside the track, and hinges are the joints that let the door panels articulate as it turns the curve. These wear from friction, and friction announces itself with noise. A door that squeals, grinds, or shudders as it moves is a door with worn rollers or dry hinges. This is the step where most DIY mistakes happen, so read the lubrication caution before you reach for a can.
The check
- Rollers: Look at each roller where it sits in the track. Steel rollers wear flat spots, which you’ll feel as a wobble; plastic or nylon rollers crack or chip at the edge. A roller that’s worn is a cheap replacement and a common cause of vibration. If a roller has come out of the track entirely, don’t force the door.
- Hinges: Flex each hinge by hand where it’s safe to reach, looking for cracks or a pin that’s backing out. Worn hinges let panels ride unevenly, and a hinge that fails can drop a panel out of line.
- The hardware itself: Bolts and lag screws work loose over time from the vibration of the door. A quick visual pass for a bolt that’s backed out of the frame is worth the minute it takes.
Why lubricating the wrong parts can make things worse
This is where a lot of DIY advice goes wrong. Many guides say to lubricate every moving part. Don’t. Plastic or nylon rollers are designed to run dry – lubricant on a plastic roller can attract grit that wears it faster. Tracks should stay clean and dry – grease in a track turns into a paste that gums up the rollers and slows the door. What you do lubricate is metal: hinges, the metal roller bearings, and the spring (a light application, not a soak). A silicone-based spray or a garage door lubricant made for the job is right. WD-40 as a cleaner is fine; as a long-term lubricant it thins out fast and leaves the metal dry. When in doubt, lubricate less.
Step 4: Tracks and Alignment
The vertical tracks guide the door up, the curved tracks turn it, and the horizontal tracks carry it back. A door that runs smoothly on well-aligned tracks is quiet and easy on the opener. A door on a bent track fights the opener every cycle, and that’s how a small track issue becomes an opener failure.
How to check alignment without moving anything
- Look for bends. Stand back and sight down each track. A track should be straight. A visible bend or kink, usually near the bottom where a car bumper may have nicked it, is a problem.
- Check the gap. On both sides of the door, the rollers should sit evenly in the track with a consistent gap. If one side has a wider gap than the other, the track has been knocked out of square.
- Watch a full cycle. With the door operating, watch the rollers in the track. A door that shudders, jumps, or shimmies is telling you a track is out or a roller is bad. Do this from a safe distance – never put a hand near a moving door.
- Check the brackets. The brackets that hold the track to the wall can work loose. A loose bracket lets the track shift under load.
Don’t try to bend a track back into shape yourself. Steel track that’s been kinked has lost its strength at the bend, and forcing it can pop a roller out and drop the door. Track realignment is a professional job, and it’s usually quick once a technician is there.
Step 5: The Opener and Safety Reversal
The opener is the last stop because it’s the most protected component, and the one whose failure is usually caused by something else. A strained motor or a snapped belt is often the symptom of a door that’s been fighting a bad spring, a bent track, or a worn roller for months. So before you look at the opener, look at everything above it.
The safety reversal test
This one matters for anyone in the house, and it takes a minute. With the door open, place a solid object – a two-by-four laid flat works – on the floor in the door’s path. Close the door using the wall control or remote. The door should reverse on contact with the object and go back up. If it doesn’t, the safety reversal system needs adjusting, and that’s a call, not a fix. A door that closes on an object is a door with a safety system that’s not doing its job. Repeat the test with the photo-eye sensors on either side of the door: block one beam with your hand during a close cycle and the door should reverse. If it doesn’t, check that the sensors are aligned and clean, and if they still don’t work, call.
What else to check on the opener
- A new strain or grinding sound. A strained opener points to a hard-to-move door, not a failing opener. Fix the door and the opener sounds fine again.
- A remote that needs to be closer. A remote that only works up close, or a wall button that works while the remote doesn’t, points to a signal or battery issue long before it points to a dead opener. Change the battery and check the antenna wire, and if that doesn’t do it, the logic board is next.
- The manual release. Pull the red handle once, check that the door releases from the opener, and that a re-engage happens when you run the opener again. A manual release that’s stuck or doesn’t re-engage is a problem, and it’s the door’s only backup if the opener fails.
Whether it’s a LiftMaster, a Chamberlain, a Genie, or a Raynor opener, the test sequence is the same. If you’d rather have us look, our garage door opener repair work covers the common brands and the older ones too.
Seasonal Checkpoints for Mount Laurel’s Calendar
Mount Laurel runs hot, humid summers and cold winters with real freeze-thaw cycles, and that calendar drives how a door ages. The two seasonal checkpoints that matter most are the pre-winter audit and the post-freeze inspection.
Pre-winter: the weatherstripping audit
Before the first hard cold, walk the perimeter of the door. The rubber seal along the bottom and the strips around the sides are what keep cold air and water out. Check that the bottom seal meets the floor all the way across with no gaps – a flashlight under the closed door tells you fast. Check for cracks or a seal that’s turned stiff and brittle, which is what the cold does to old rubber. A worn seal lets water in, and water at the door’s bottom edge is a freeze-thaw problem all winter. Replace a bad seal before the cold, not after. This is also the moment to test the door’s balance by hand, because a tired spring is more likely to give in cold weather.
Post-freeze: the hardware inspection
After the first deep freeze and thaw, do a hardware pass. The freeze-thaw cycle works bolts loose, and a door that operated fine in October can be rattling in January. Check the bolts at the hinges and the brackets that hold the tracks, check the springs for new rust or a gap, and check the cables at the bottom corners for slack. Cold also stiffens lubricant, so a door that suddenly squeals in winter is telling you the hinges need a light fresh coat. A quick pass here catches the things that break between the scheduled checks.
A short spring and fall schedule
- Early fall: weatherstripping audit, balance test by hand, lubrication of hinges and metal bearings.
- After the first freeze: hardware and bolt inspection, spring and cable check, safety reversal test.
- Late spring: full five-step check, track inspection after the winter, and a clean of the tracks.
- Mid-summer: a quick spring and cable look given the heat and humidity, plus a roller and hinge noise check.
What to Photograph and Document Each Check
This is the step almost every checklist skips, and it’s the one that saves you a visit. Good photos and a short note let a technician diagnose a lot of the door before anyone drives out, sometimes enough to talk you through the fix or to match the right part for the first visit. It also gives you a baseline, so next time you can see whether a gap has grown.
What to photograph
- The full spring, straight on. One photo of each spring along its whole length, taken straight on so a gap or a rust spot is visible. The close-up matters most, but the wide shot tells us which spring and what size.
- Both bottom corners. The cable, the bottom bracket, and the base of each track, so any slack, rust, or bend shows.
- The rollers and hinges at three points: one near the bottom, one mid-door, one at the top curve. A close-up of any roller that’s cracked or worn.
- The opener label. The model and serial number plate on the motor housing. This is the single most useful photo for opener questions, because the right part is model-specific. It’s how a LiftMaster, a Chamberlain, or a Genie gets diagnosed over the phone.
- The full track on each side. A shot down the length of the track shows a bend the eye misses up close. Do this after the seasonal checks too, so you have a comparison.
What to write down
A short note beside each photo: the date, what you heard during the cycle (silent, creaking, popping, grinding), and whether the door felt heavier or dropped during the balance test. Sound is hard to photograph, and it’s one of the most useful things a technician can have. If the door could be diagnosed remotely, a clear photo set and a one-line note is what makes it possible.
Common Mistakes to Avoid
- Reaching for the spring. Torsion springs are under extreme tension and can cause serious injury. A visual and audio check, done from a safe distance, is the only part of the spring check a homeowner should do. Everything else is a professional’s job.
- Greasing the tracks. Many DIY guides say to lubricate the tracks. Don’t. Grease attracts grit and turns into a paste that drags the rollers and strains the opener. Tracks stay clean and dry.
- Lubricating plastic rollers. Plastic or nylon rollers are designed to run dry. A coat of lubricant on a plastic roller picks up dust and wears it faster. Lubricate the metal parts only.
- Forcing a stuck door. A door with a broken cable, a snapped spring, or a track that’s jumped a roller is a call. Forcing it can drop the door or bend a track, and both turn a small repair into a bigger one.
- Bending a track back by hand. Kinked steel track doesn’t regain its strength at the bend, and forcing it can pop a roller out. Track work is a two-tool job with real risk at the door’s weight.
- Skipping the safety reversal test. A door that closes on an object is a hazard for anyone in the house, and it’s a one-minute test. If it fails, stop using the door and call.
- Attributing a strained opener to a bad motor. An opener that strains is usually fighting a door that’s hard to move – a bad spring, a bent track, a worn roller. Replacing the opener without fixing the door is money thrown at a symptom, and the new one strains too. That’s the right fix, not the fastest upsell.
When to Call a Professional
Call a professional when the door won’t move, when it’s crooked, when you see a gap in a spring or a frayed cable, when a track is bent, or when the safety reversal test fails. Call when the door feels heavy or drops by hand. Call when you hear a bang from a garage that was supposed to be silent. And call if the door is stuck with a car on the wrong side – that’s a security and safety problem, not just an inconvenience, and it’s the case emergency garage door service is for. The spring, cable, and track repairs are the ones to hand to a technician every time.
Our technicians have up to 9 years of experience, and the local pro we connect you with is licensed and insured as their state requires. Garage Door Repair Mount Laurel offers free estimates in Mount Laurel – call (844) 292-9001. The price is quoted and agreed before any work starts, so the written estimate is what you pay.
If the door needs more than a repair – a panel, a section, or a full door – the same company handles the diagnosis, the repair, and a new installation. A door that’s reached the end of its life doesn’t need a second contractor. You can read more about the full scope on our garage door repair page, and more about spring and opener work on the Garage Door Repair Mount Laurel main page.
Frequently Asked Questions
Run the full five-step check twice a year, plus the pre-winter weatherstripping audit and the post-freeze hardware inspection. If your door cycles more than six or seven times a day, do the spring and cable checks three times a year, because springs wear on cycles rather than years. A heavy-use door in Mount Laurel ages faster on the same calendar than a lightly used one.
Spring repair in Mount Laurel typically falls in the range of a scheduled repair rather than an emergency, and it depends on the spring and the pair. A quote is for one spring; most doors use a matched pair replaced together, so the pair costs about twice a single spring. The written estimate sets the final price and is agreed before any work starts. Call (844) 292-9001 for an exact quote – estimates are free.
Emergency garage door service is available for doors that won’t open, won’t close, or have a car on the wrong side, and we’ll give you the earliest booking. A stuck door is a safety and security problem, so call as soon as it happens rather than forcing the door. Call (844) 292-9001 and we’ll get you a time.
No. The price is quoted and agreed before any work starts, so the number in the written estimate is what you pay. If a check turns up something the estimate didn’t cover, you’ll hear about it first and decide before any extra work begins. Call (844) 292-9001 for a free estimate.
The local pro we connect you with is licensed and insured as their state requires, and our technicians have up to 9 years of experience. That matters most on spring and cable work, where the tension involved makes it a job for a trained professional, not a general handyman. Call (844) 292-9001 with any questions before the visit.
Cold weather stiffens lubricant and shrinks the metal, so hinges and metal bearings that were quiet in summer start to squeal when the temperature drops. A light fresh coat of garage door lubricant on the hinges and metal roller bearings usually quiets it. If the squeal comes with a shudder or the door won’t move freely, it’s a hardware check, and that’s a call rather than a can of spray.
Yes, on the metal parts: hinges, metal roller bearings, and a light pass on the spring. Don’t lubricate plastic rollers or the tracks; they’re designed to run dry, and grease in the tracks attracts grit. Never touch or adjust the spring itself, and if you’re unsure whether a part is metal or plastic, leave it clean and ask.
Photograph each spring straight on along its full length, both bottom corners, the rollers and hinges at three points, the model label on the opener housing, and a shot down the length of each track. Add a one-line note with the date and the sound the door makes during a cycle. A clear photo set and a short note is what lets a technician diagnose remotely.
The Bottom Line
A garage door maintenance checklist works when it’s built around what actually fails, in the order it fails. Check the spring first, then the cable, the rollers and hinges, the tracks, and the opener last. Run it twice a year, add the pre-winter weatherstripping audit and the post-freeze hardware inspection, and photograph what you find so a technician can help before anyone drives out. And know what belongs to a professional: the spring, the cables, the track alignment, and anything that makes the door feel heavier than it should. If you’re in Mount Laurel and the door needs a look, call (844) 292-9001 for a free estimate on the repair, and it’ll be back in working order.
Written by the team at Garage Door Repair Mount Laurel.
See the difference
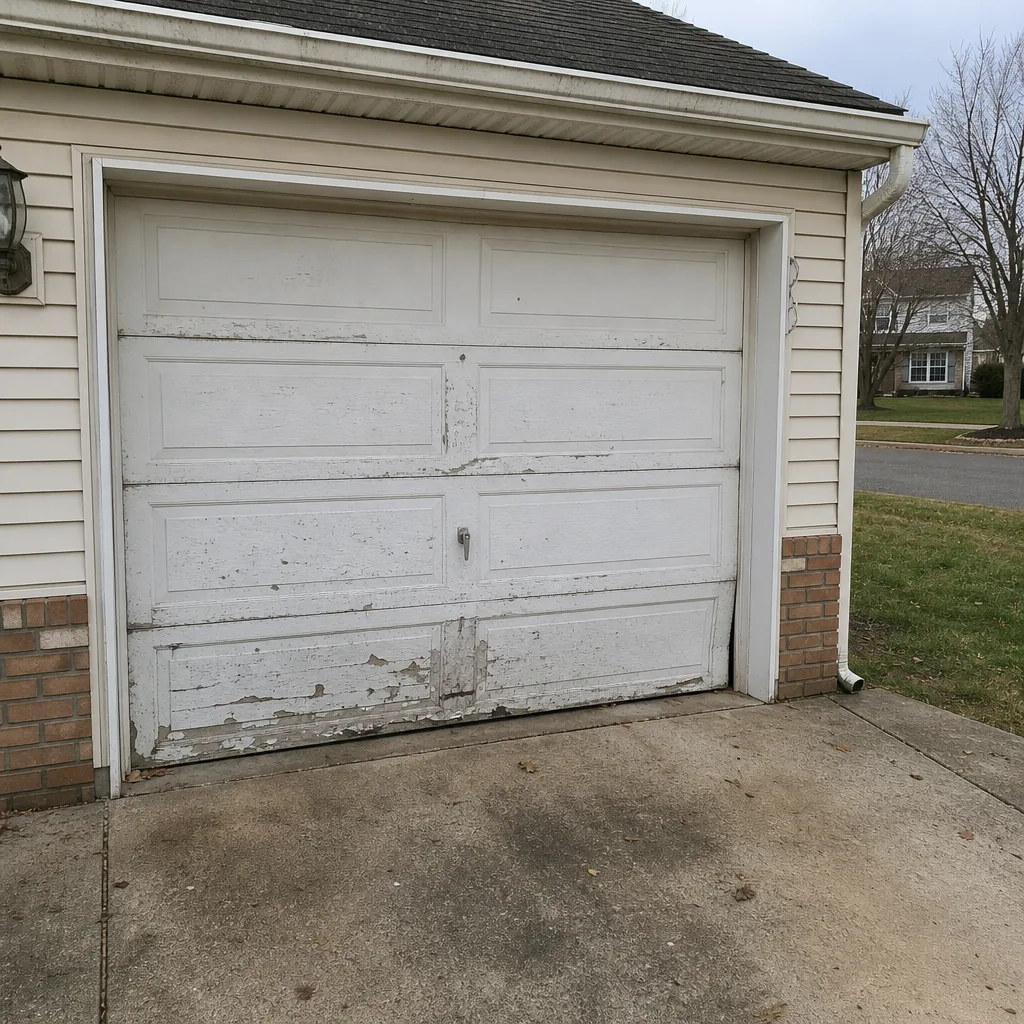 Before
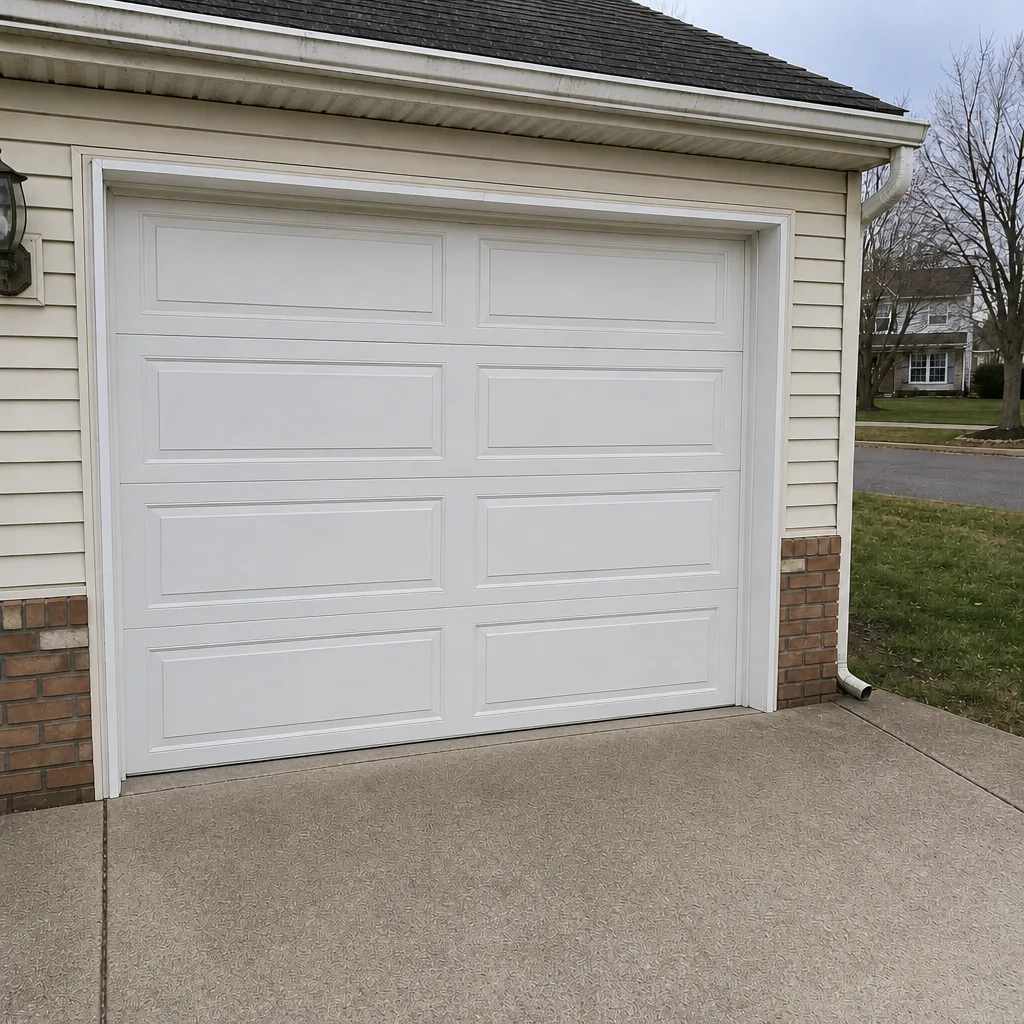 After
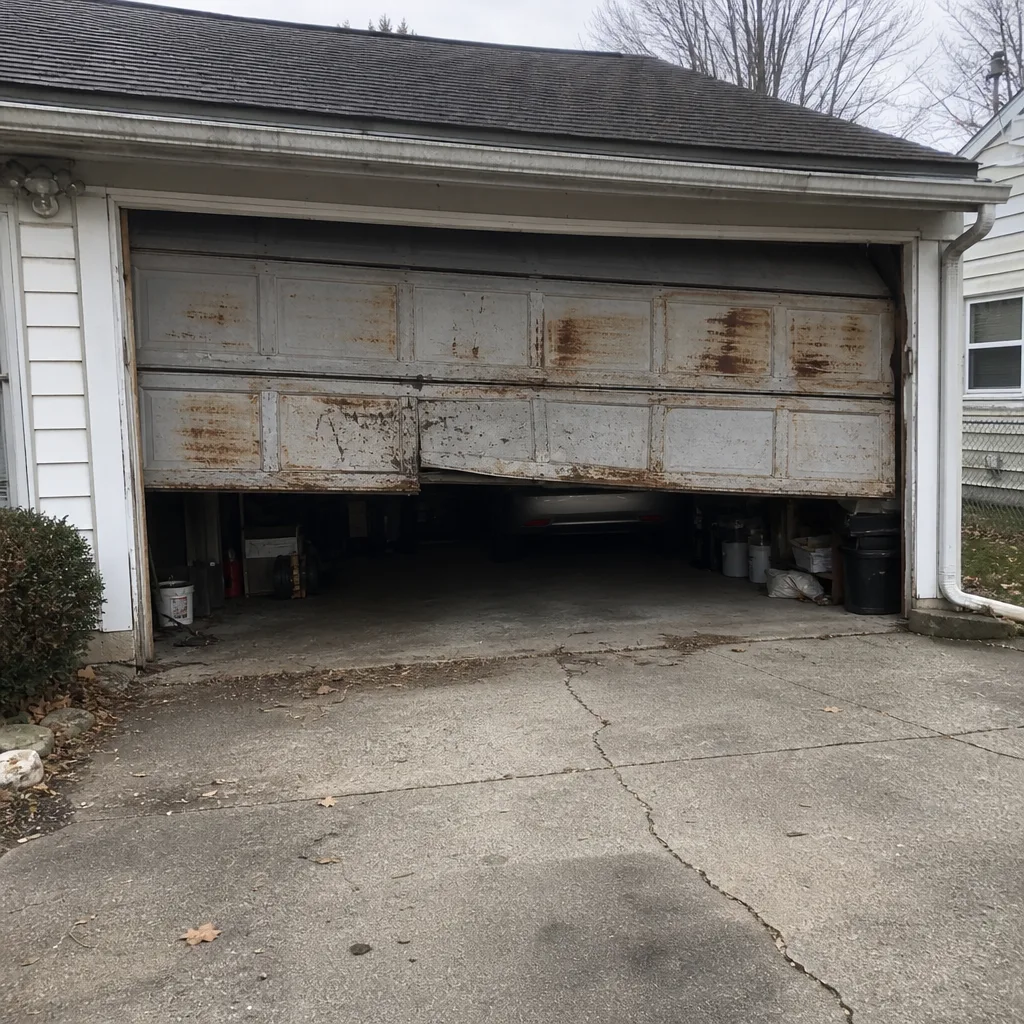 Before
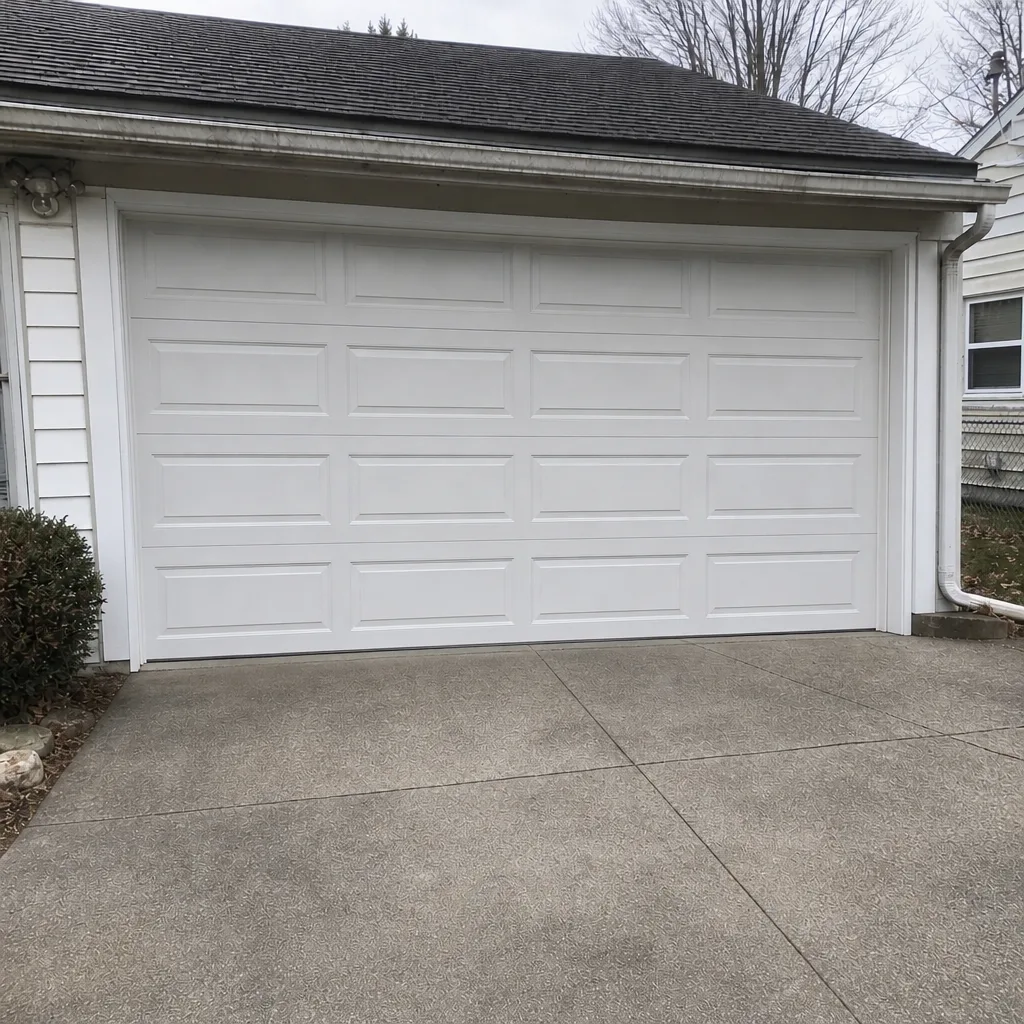 After
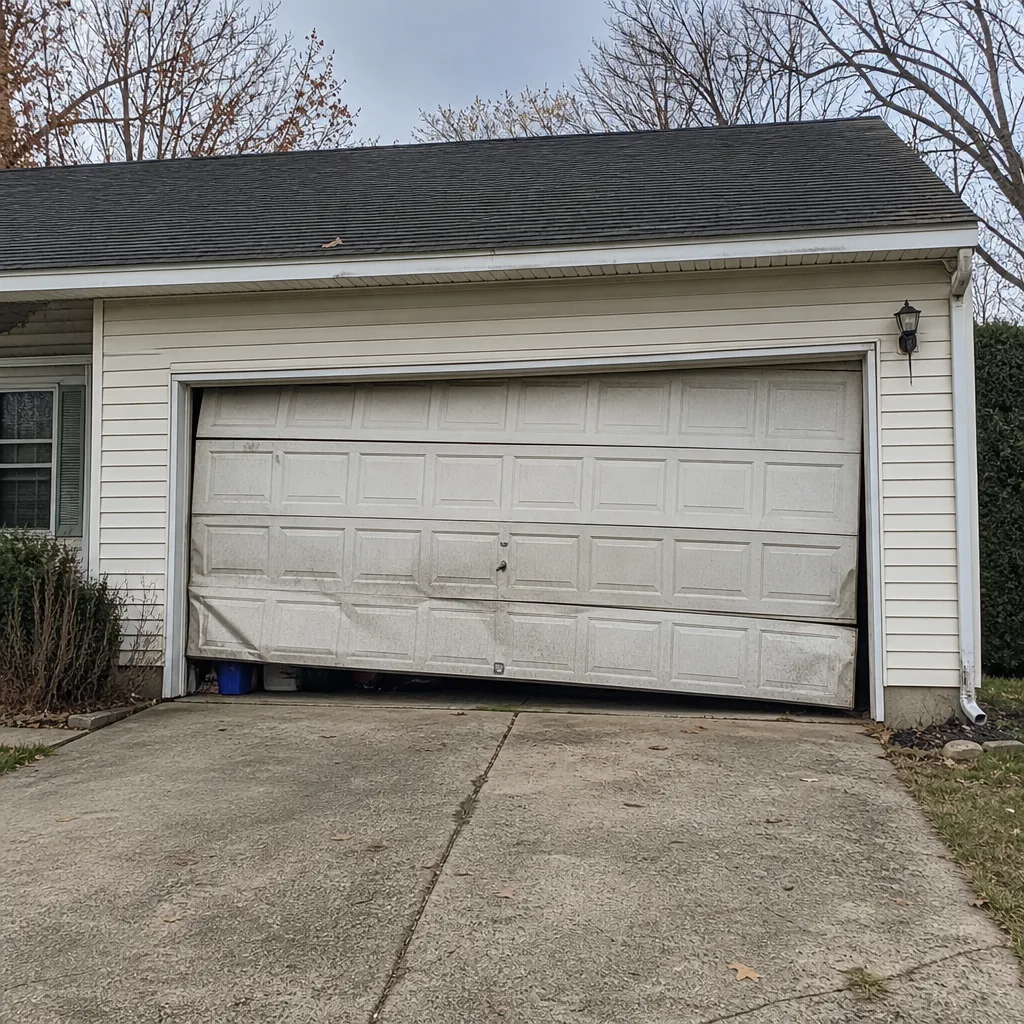 Before
 After